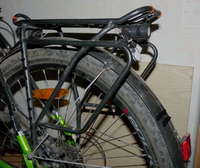
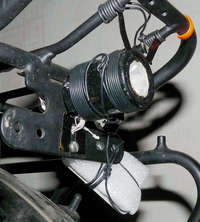
Mounted on the luggage carrier:


Brake light housing has little in common with the housing of Near/High-beam lights. Still, some of those tips are relevant here too (not repeating anything).
For control - see appropriate headlight's pages.
Circuit diagram - almost same as for headlights. The "powerful" channel pin goes to two linear regulators (2*0.35A) - for signaling, the "weak" gives 2mA - for tail light. The weak pin goes to the gate of a FET. Its source is on the ground, drain thru a 470 ohm resistor goes to LED (and linear regulators). The FET is used to separate these two current sources (resistor and regulators).
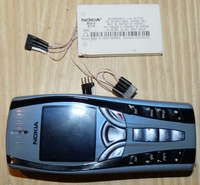
Power and recharging - from an old cell phone.
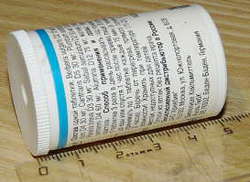
I made a hole in the bottom of the container, with diameter a little less
than that of lens holder. Outside hermetically glued (with "Moment")
a transparent disc (cut from a DVDs container).
Everything painted black - to not draw unnecessary attention.
The paint "Hammerite" (for rusted metal) adheres better to a rough
(sandpapered) plastic than to original sleek
(of course I peeled the paper label off).
Holder (10654) epoxied to the star, its legs cut.
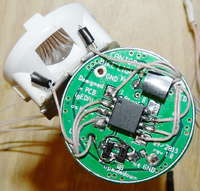
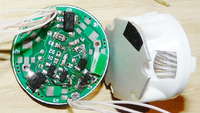
Note that the holes in the PCB are very handy to route wires thru them -
for strain relief.
Aluminum tin lid to help to dissipate heat from regulators.
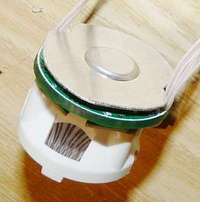
After the tin lid - a soft spongy pad (out of several ones).
Back cover of the container is cut - to go fully inside.
Holder, star, PCB, heat lid are wrapped in this same spongy material.
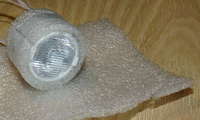
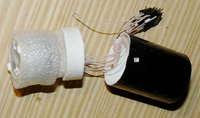
A tin cramp glued to the back cover keeps the nail from
touching the cover:
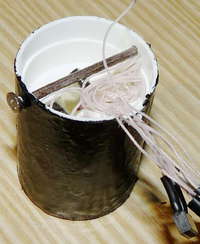
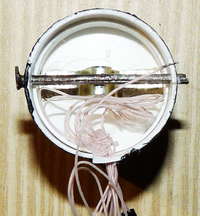
If a raindrop gets inside, due to the surface tension,
it won't get into the micro-chinks between housing and back cover.
Alternatively, the cover could be sealed/glued in there, but then
later dis-assembly (if needed) will be troublesome.
The sandwich: (container bottom) + (holder,lens,star) + (controller,PCB,regulators) + (heat-dissipating lid) + (spongy pad) + (back cover with the tin cramp) + (nail inserted in the housing). Electronics and optics is dampened from almost all sides (except the window) - which is great, and thermally-isolated, which is not. But it's not essential: I waited more than 2 minutes on max power (0.7A, 1.5W) until the controller shut the light down due to over-heating (85°C).
Finally I glued the back with a (back-back-)cover (out of that same spongy material). Thus I built a compartment (with essentially nothing in it), that separates electronics and optics from the street's rain and dirt. I think sealing the back cover inside is unnecessary, no way any rain drop can make it to the electronics.
Aluminum tin cramps for mounting (painted black):

Left to right:
View from the inside:
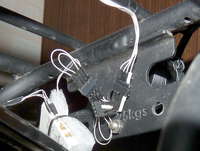
Later I made a better battery mount, not showing..
Li-Ion battery is better not be over-heated in summer, so be careful painting it black (I didn't).